
Introduction
Last year I wrote a three-part series on fitting an ORTF pair in the diminutive 80mm diameter Mini-ALTO from Radius Windshields. This was, as I described, a (non-commercial) challenge from John and Simon at Radius, and I made the task a little trickier for myself by keeping the capsules of the mics on the centre-line of the windshield: too often people squeeze ORTF pairs into windshields with the capsules right against the basket, with consequent impact on wind protection. The result, as readers may recall, was a series of designs for some suitably short mics: the small cardioids I found that fitted properly were limited to the Schoeps CMC 1 KV + MK4, the DPA 4011 + MMP-GS or MMP-ES preamp, the Nevaton MC 59S + 59/C, and the Sennheiser MKH 8040. The first three are hard-wired and, crucially, avoid the projection of connectors, while the Sennheiser needs a custom MZL connector to become short enough to fit. Since then, I have added the new Nevaton MC59uS + C2 combination, which, with a length of 23.5mm, is unbelievably short for a cardioid mic.
In an update to part 3 of the original series on the ORTF in a Mini-ALTO project, I added that Radius Windshields had introduced an ORTF add-on kit with the necessary symmetrical pods (each 90mm) and fur to fit, and that Ed at ETK Cables was producing Y-cables with the customized MZLs necessary for the MKH 8040 version. I also posted links to (freely available) parts for 3d printing so that readers could make their own mounts, and I have had some feedback from those that have done this. Obviously, refinement of the mounts and turning them from homely 3d prints to injection-moulded parts would have been great, but, needless to say, ORTF in a Mini-ALTO is a tiny potential market for Radius Windshields – not least given that the necessary mics are, for the most part, relatively unusual: only the MKH 8040 is what one might call a ‘mainstream’ cardioid used in field recording and, indeed, it is this for which I have seen most interest (as gathered from feedback by those DIY-ing their mounts from my 3d files).
So the project could well have rested there, except for two things: first, I have been experimenting with getting Multi Jet Fusion (MJF) 3d prints made for me; and, second, the advent of the new Mini-RAD hoops got me thinking about revision of the ORTF in a Mini-ALTO design. This post, therefore, is about how those two aspects have come together and nudged the project on.
The revised design
The attraction of MJF printing for me, vs my modest 3d printing at home, has been that it liberates the designs from a flat bed. I know that people use supports, that are then removed, in their prints, but I have had little joy with this and invariably end up with a pile of spaghetti. So, getting one-piece prints of complex pieces instead of having to make them up piecemeal, with brass inserts and screws holding them together, seemed a real advantage: in short, for much I am doing nowadays I am using the little printer I have here (a Bambu Lab A1 Mini) to test things, then get them printed commercially using MJF technology.
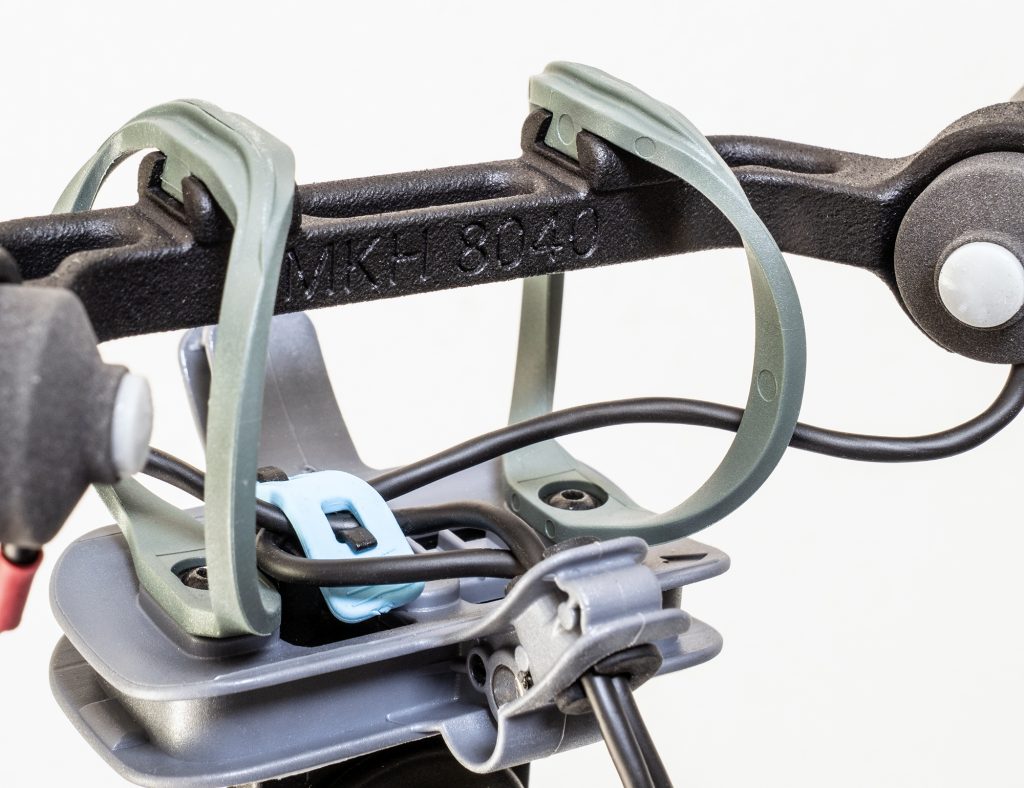
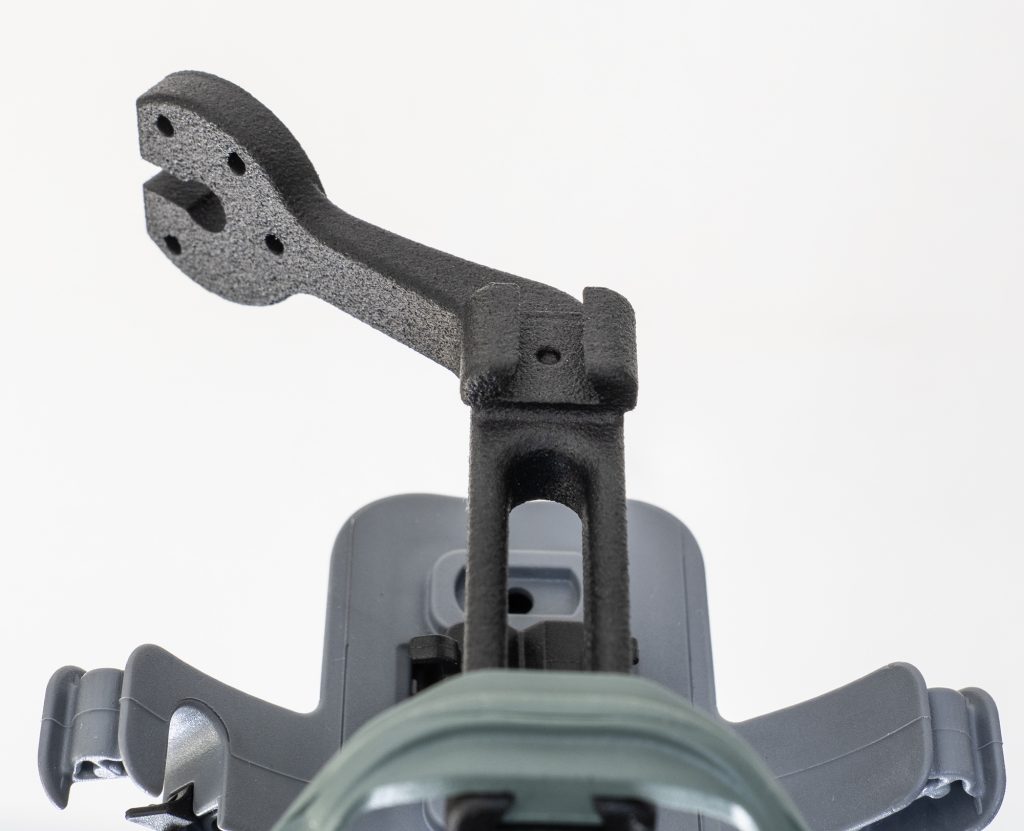
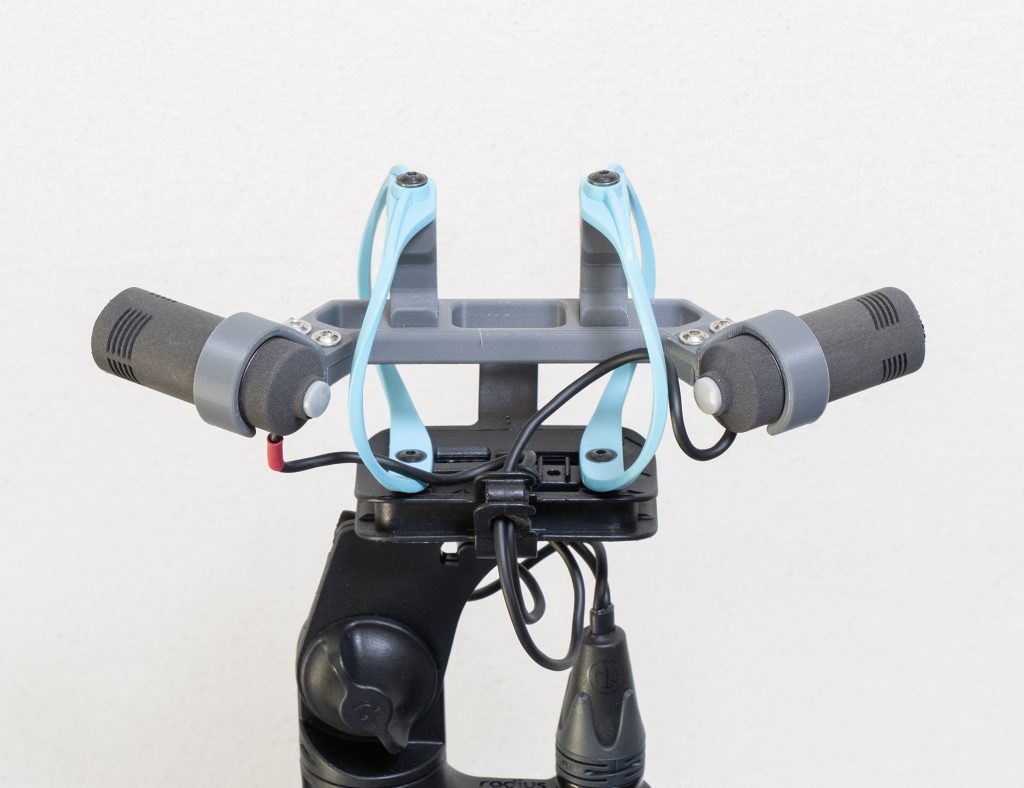
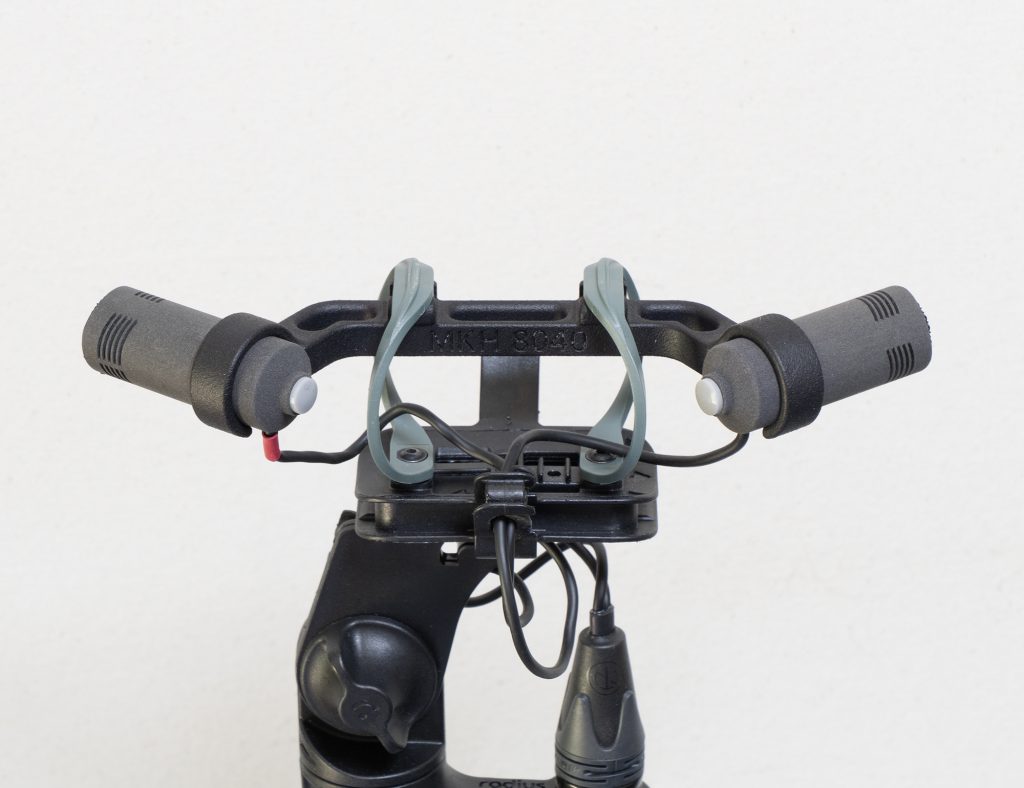
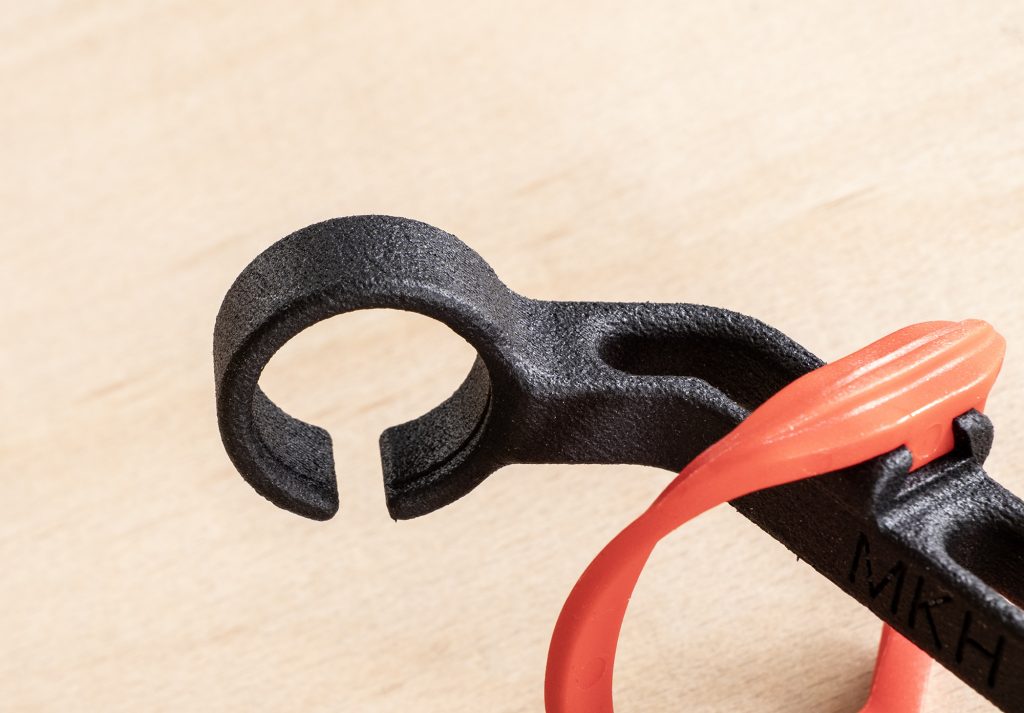
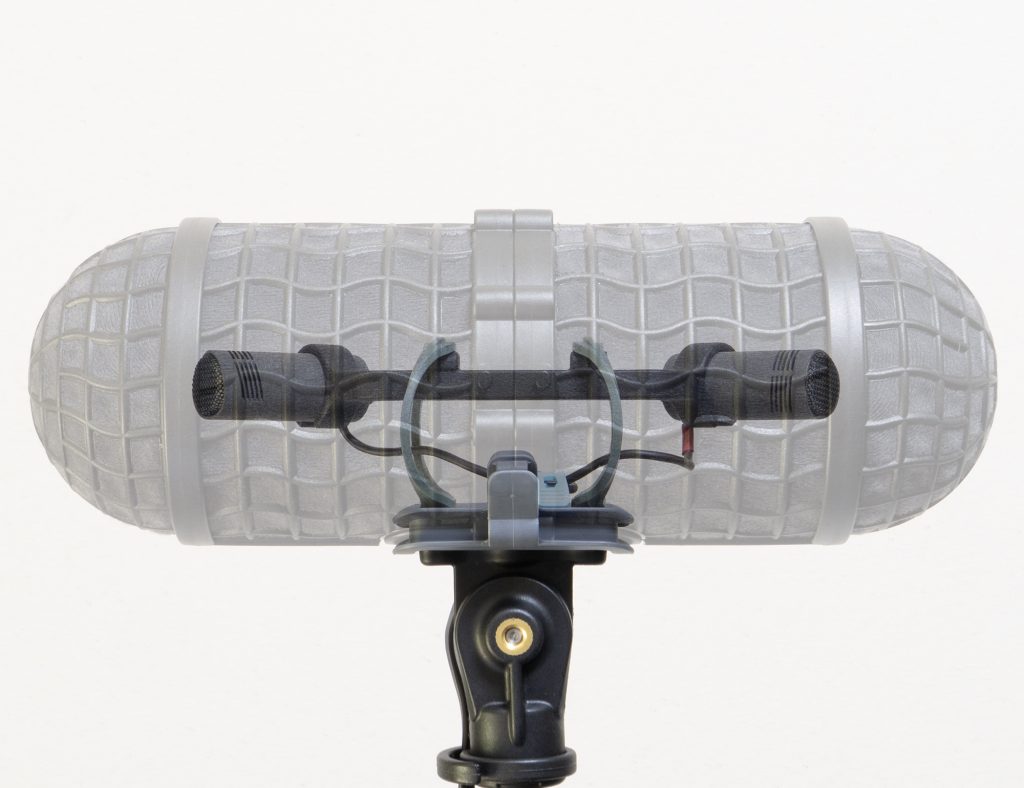
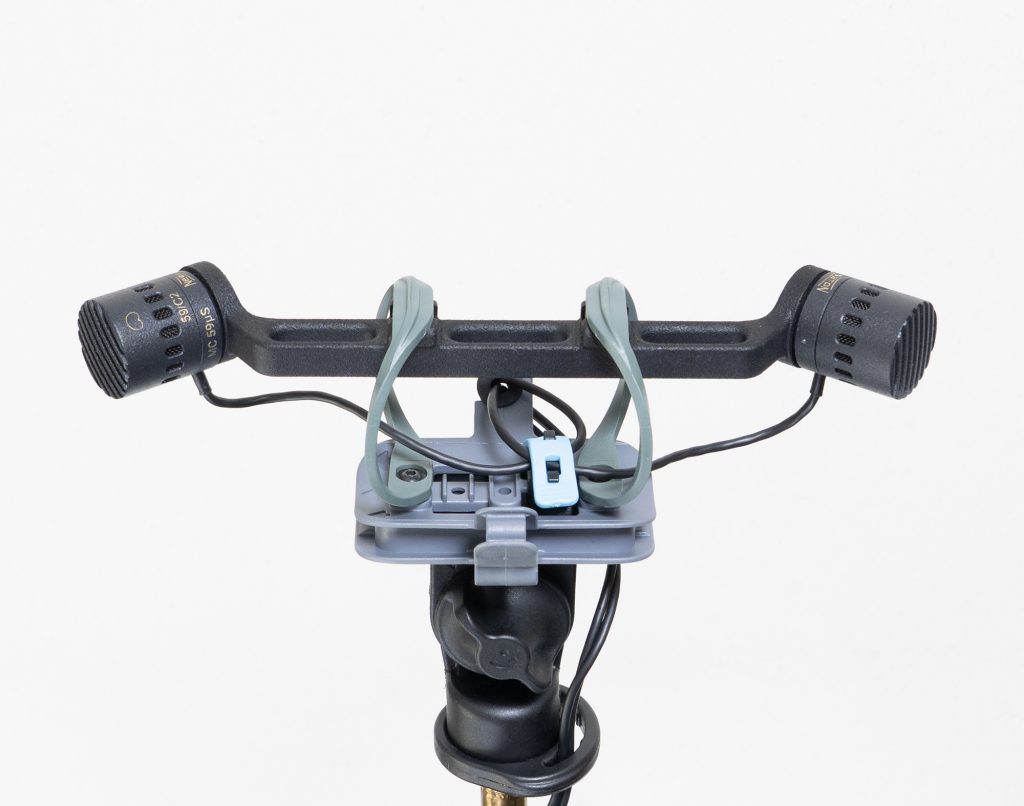
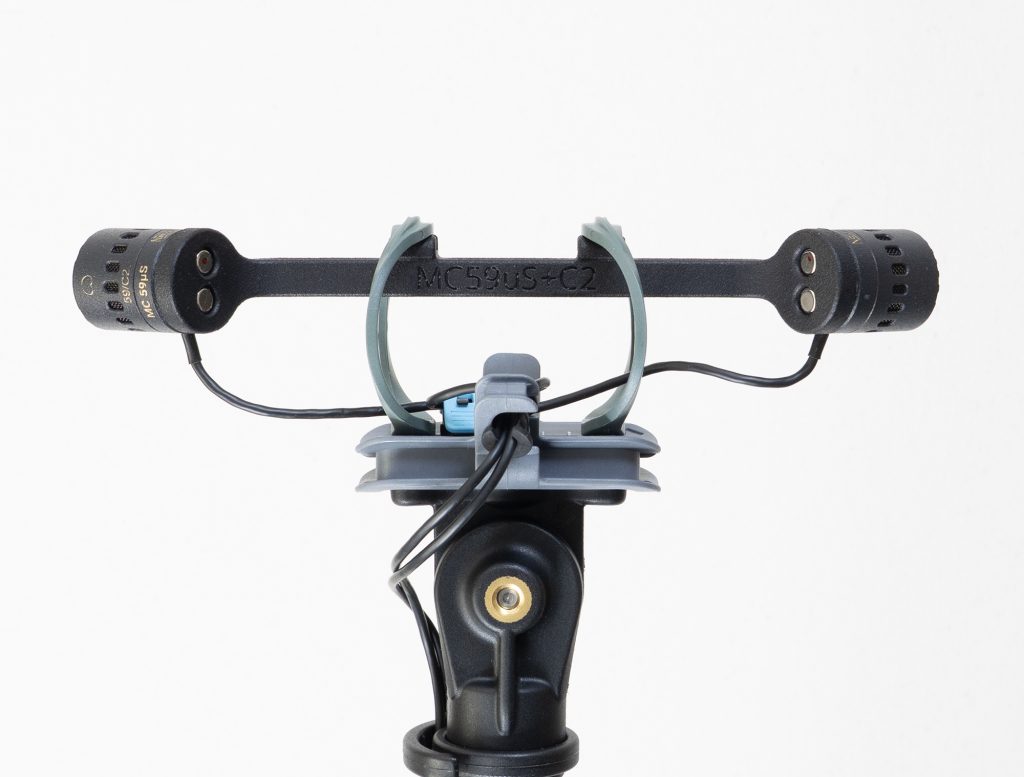
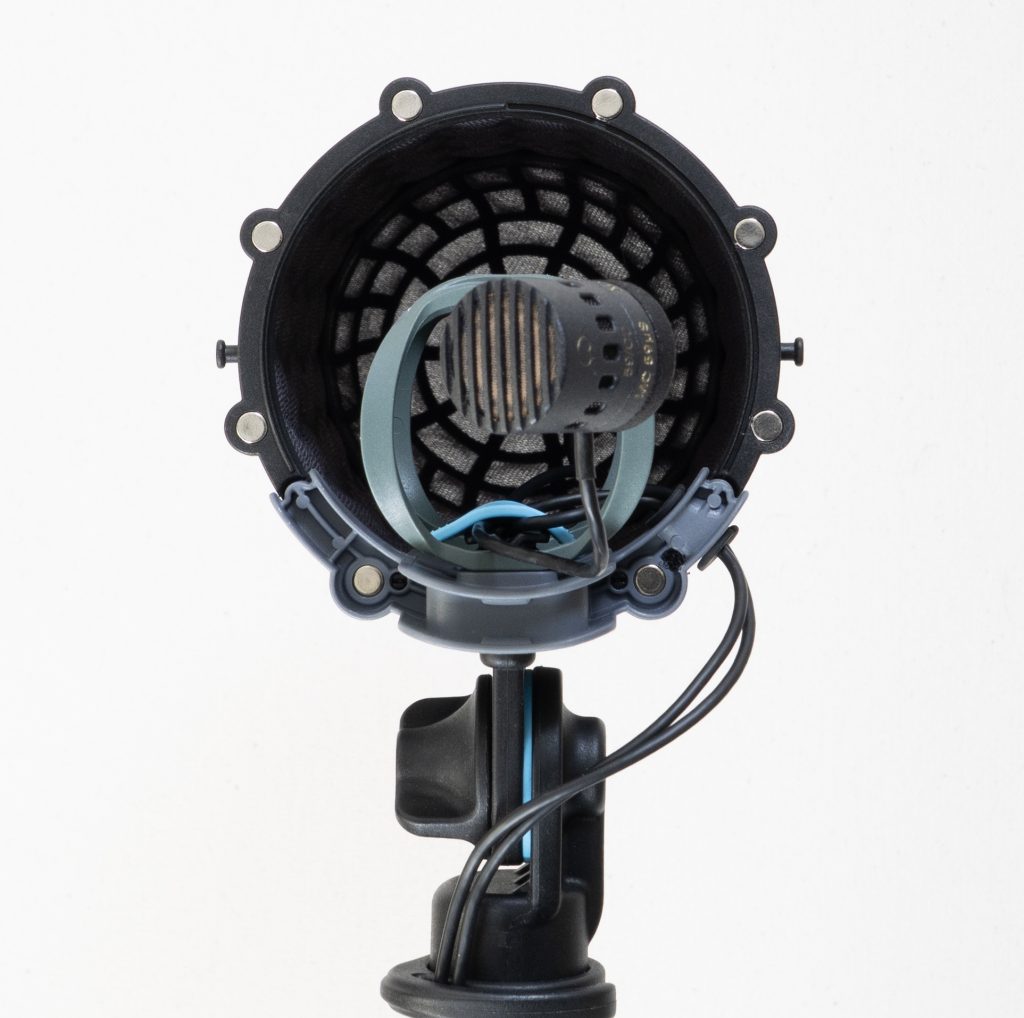
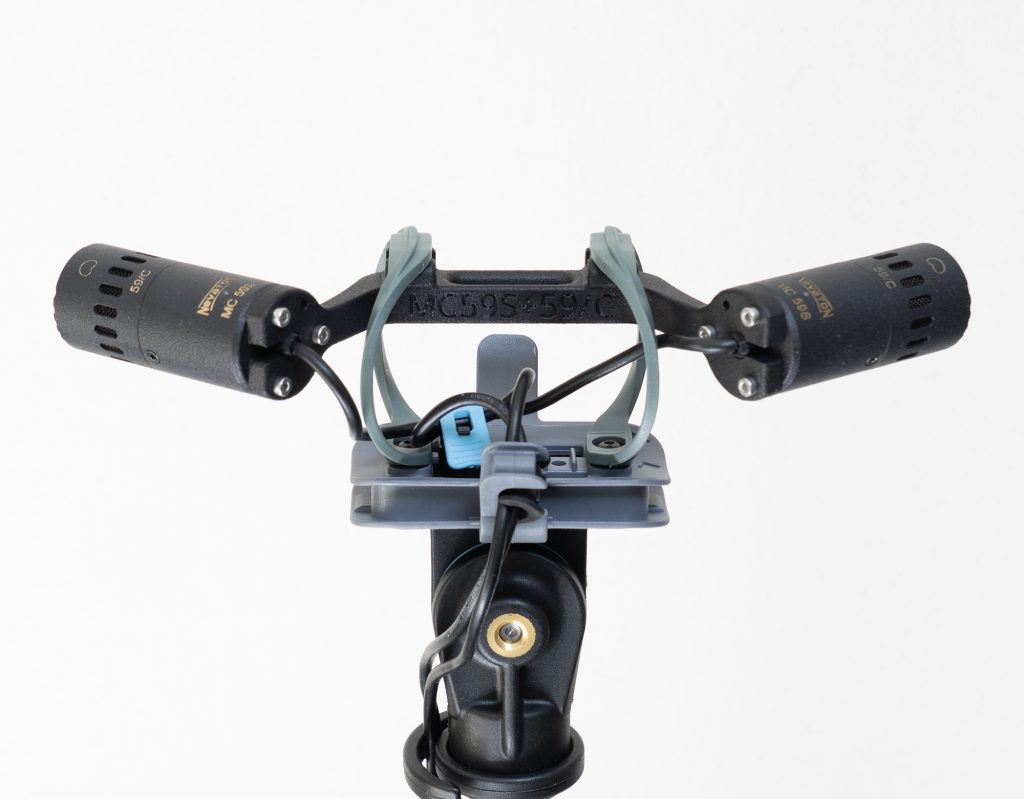
I had just begun refining the ORTF bar designs for MJF printing – essentially combining the mic clips/mounts with the bar that holds the mics at the right angle and spacings, when I realized that the pre-production Mini-RAD hoops from Radius were imminent and that by using these I could simplify the designs. All the mounts for the ORTF pairs for the Mini-ALTOs had a common feature in that two posts or connectors linking the ORTF bar to the top of the hoops, so that the bar and the mics sat centrally in the windshield. With the much smaller Mini-RAD hoops (they are c.19mm shorter internally) it was clear that the posts/connectors could be removed from the design, and, instead, the ORTF bar could be fixed directly to the hoops. Also, the Mini-RAD hoops do not have a screw fitting at the top, as found in the standard hoops, but, rather, use a dovetail joint to connect: the dovetail includes a pip, which fits into a dimple in the Radius clips to ensure that the two parts don’t slip.
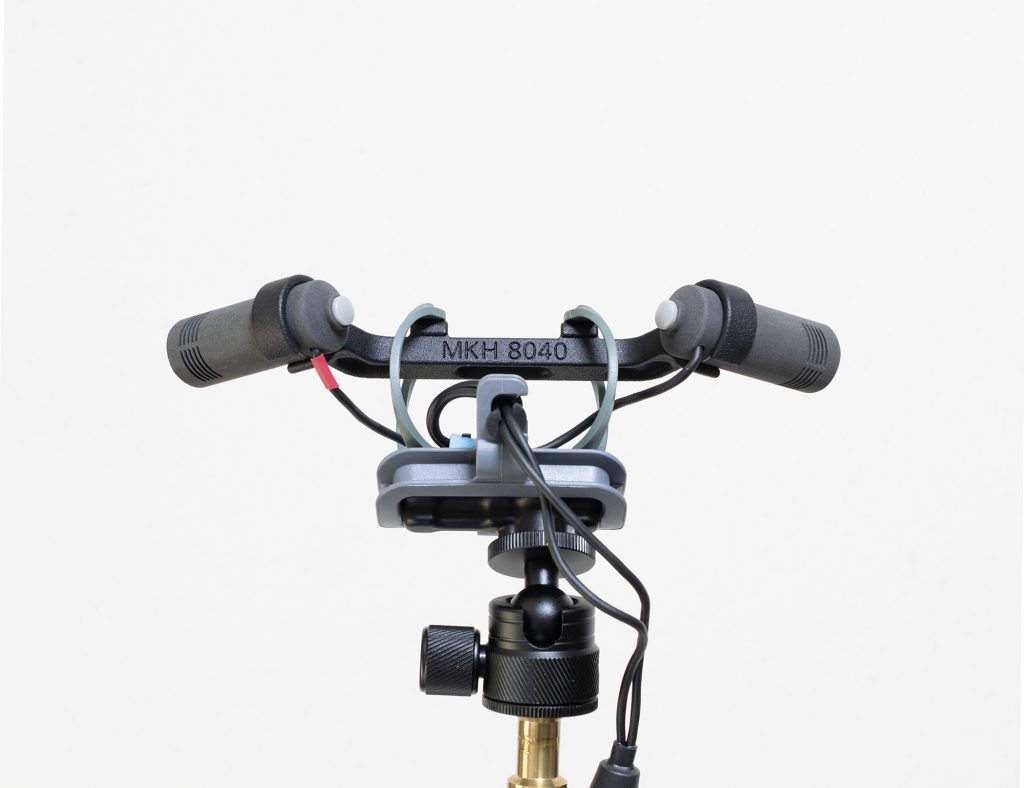
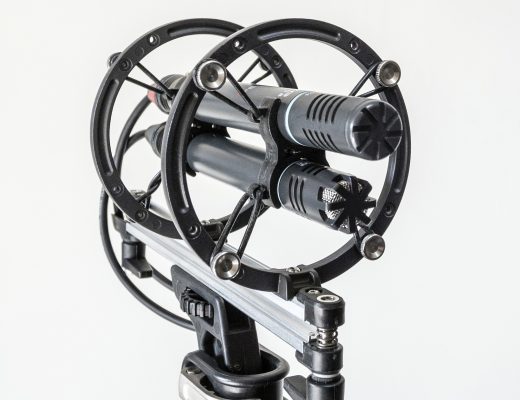
OK, a picture is worth a thousand words, so here are a few that, I hope, clarify how the new designs work and compare to the previous approach. In these examples, the updated designs are for the two Nevaton variations and for the Sennheiser MKH 8040, for the simple reason that I own these mics: I had to borrow the Schoeps and DPA short cardioids for the designs and tests last year.
Conclusions
So there we go. From tests, there is no difference in performance and, indeed, you wouldn’t expect there to be, as long as the right compliance hoops are used (and the smaller hoops need a softer Hytrel to match the compliance of the larger hoops: for example, 45D shore in the Mini-RAD is roughly equal to 55D shore in the standard hoops; 55D = 62D etc.). But the new designs are useful simplifications of the previous versions, a lot further on from proof-of-concept designs, and as near as possible to the slick and robust injection-moulded versions that would be the ultimate, but which I think are not commercially viable. I hope this postscript to the original series on the ORTF in a Mini-ALTO project inspires others to venture along the route of bespoke shockmounts. And let it serve as a warning: the Mini-RAD hoops will doubtless feature in more elaborate and esoteric shockmount designs here!
Update: 22.7.2026
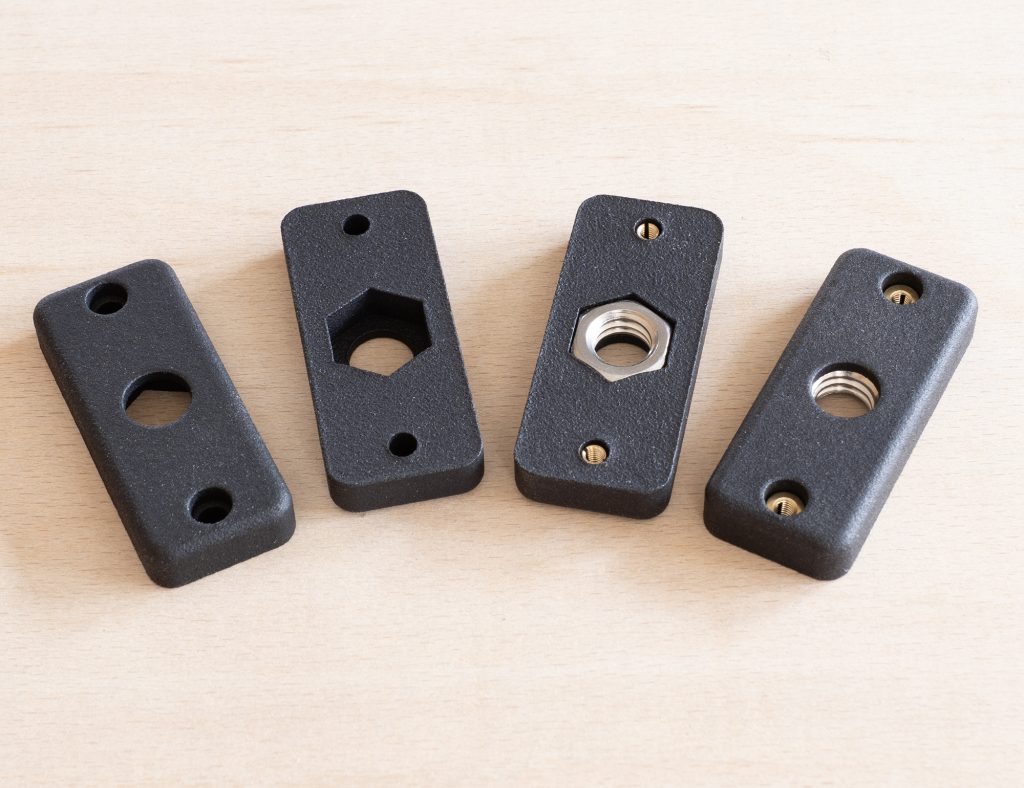
A postscript to a postscript? Hmm. Anyway, just thought I should add a short piece on base adapters. Obviously, the pivoting bases for RAD-2 and Mini-ALTO connections to boom poles, stands etc. pivot up and down the way expected for a mono mic or, indeed, an MS pair, but not for an ORTF pair where the windshields is used side-on to the sound source. In my original development of a 3d-printed solution I came up with a very simple base that allowed a 3/8″ connection to a ball head, and I have very slightly tweaked that basic design for MJF printing, retaining the captive 3/8″ UNC nut (a nice tight fit into the MJF base) and M3 brass inserts:
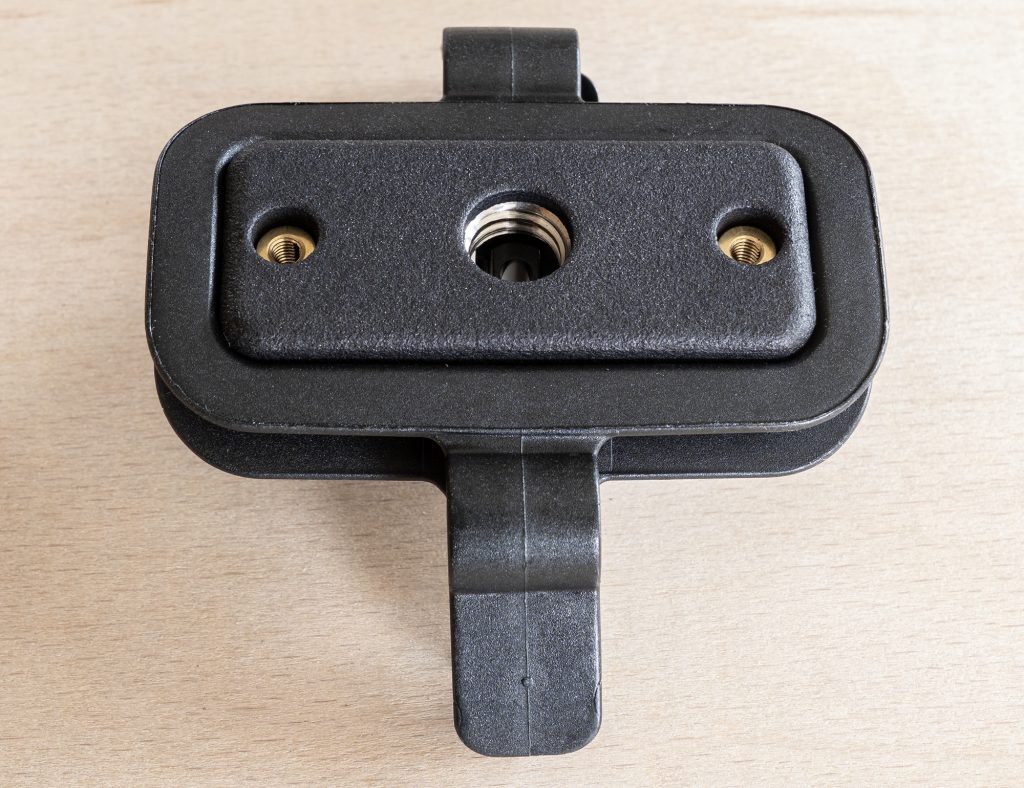
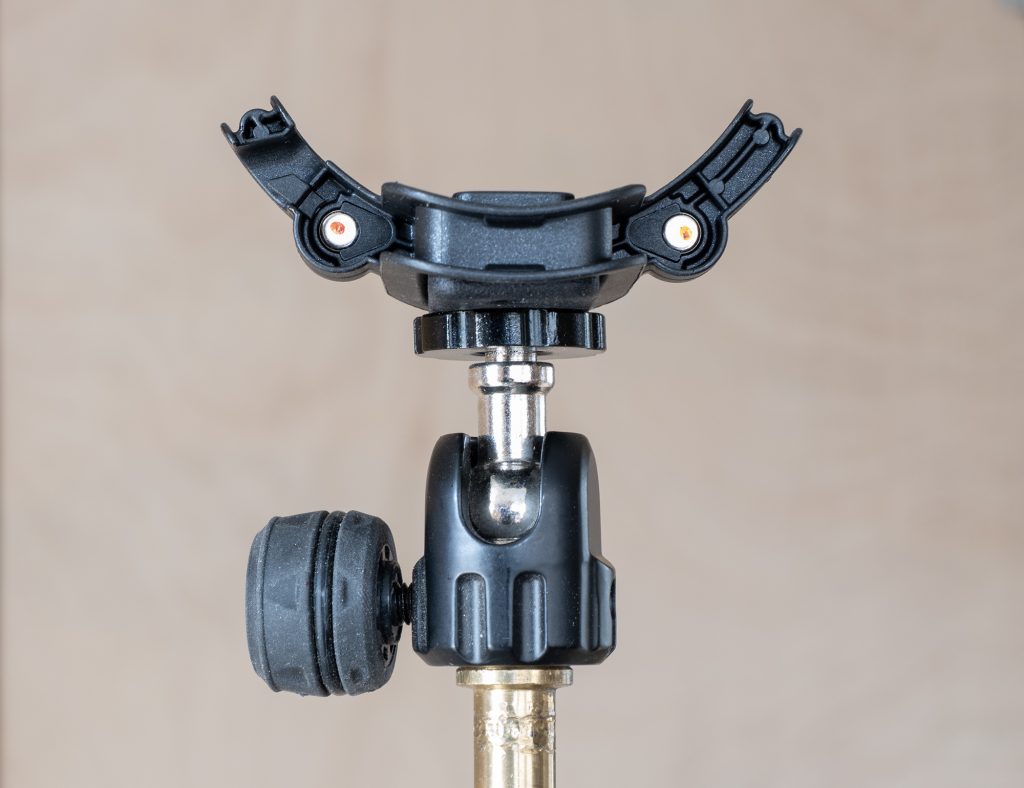
In due course I am sure Radius will produce something rather better and, indeed, their upcoming 1/4″ adapter bar is not at all bad and, with it’s 1/4″ female thread, allows use of some well-machined small ball joints that are rather nicer than the 3/8″ one from Gravity pictured above.


No Comments