Though not strictly part of filmmaking or sound recording, ultimately playback is on hi-fi speakers (well for those not limiting themselves to earbuds!) and having something decent on which to check mixes other than nearfield studio monitors is critical. To me, speakers means DIY and I have been playing around with them since childhood: an early speaker project around undergrad days was a long-throw horn using WEM drivers, and then a few years later, when a thick cold meant I wasn’t feeling much like working on the thesis, I made my first exponential tapered horn speakers, loosely inspired by Laurence Dickie’s famous Nautilus B&W speakers. The rationale of the Nautilus design (and subsequent speakers using this approach) is to use tapered tubes to absorb the rearward sound produced by the drivers, to stop it being reflected back (as in a conventional speaker cabinet) through the driver again, adding unwanted resonances and colour.

These first tapered horn speakers weren’t snail shaped like the Nautilus (too complex and derivative) but, rather, vaguely snake shaped, built simply out of chipboard, and had more of the WEM PA speakers: they weren’t very hi-fi at all. But modifications quickly followed. I was given some spare B&W drivers (I think for their 802s, but they are marked ‘prototype’ on the back), so modified the snakes to take them, and then some backroom boffins at B&W kindly stuck them in their anechoic chamber, stuffed them properly (I was too tentative with my wadding), added plasticine under the tweeters to take out a nasty reflection, and designed and built crossovers to suit: this might seem unusual, but I was brought up in the small Sussex market town of Steyning, where B&W’s R&D centre was located, so enthusiastic and generous research staff were thick on the ground.
I’d always meant to house the speakers in something rather nicer than chipboard, but the decades slipped by (actually over 25 years) and it took the Covid-19 lockdown for me to get round to it. Somehow the project rather developed: instead of re-housing the early 1990s B&W drivers (or, actually, similar: I had a spare set), I was offered some rather more modern and better (indeed, world-class) drivers (including metal-coned pistonic bass/mid drivers) actually designed for this type of speaker, and, again, some technical support (e.g. on crossover design and build). I’ll draw a discreet veil over which (different) manufacturer gifted them this time (those interested can probably guess), as they don’t supply for DIY use: again, these were some spares knocking around – acoustically fine, but not quite pristine looking.
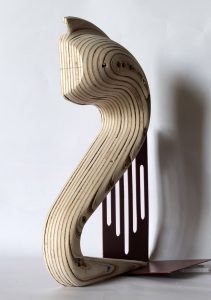
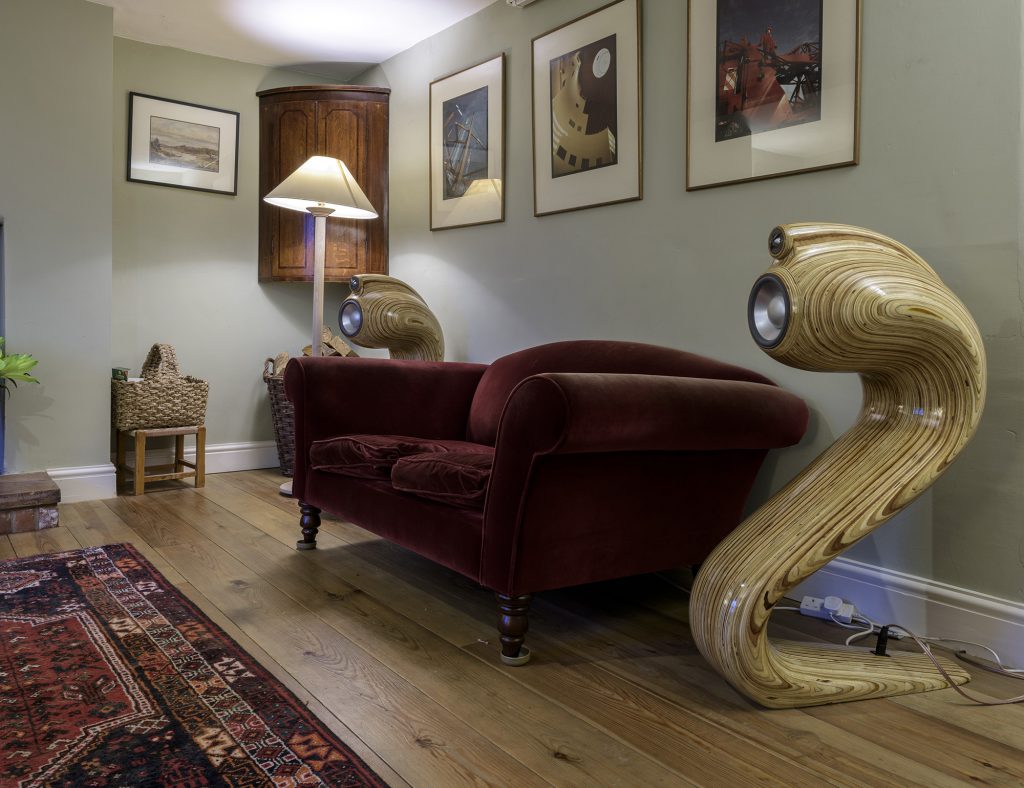
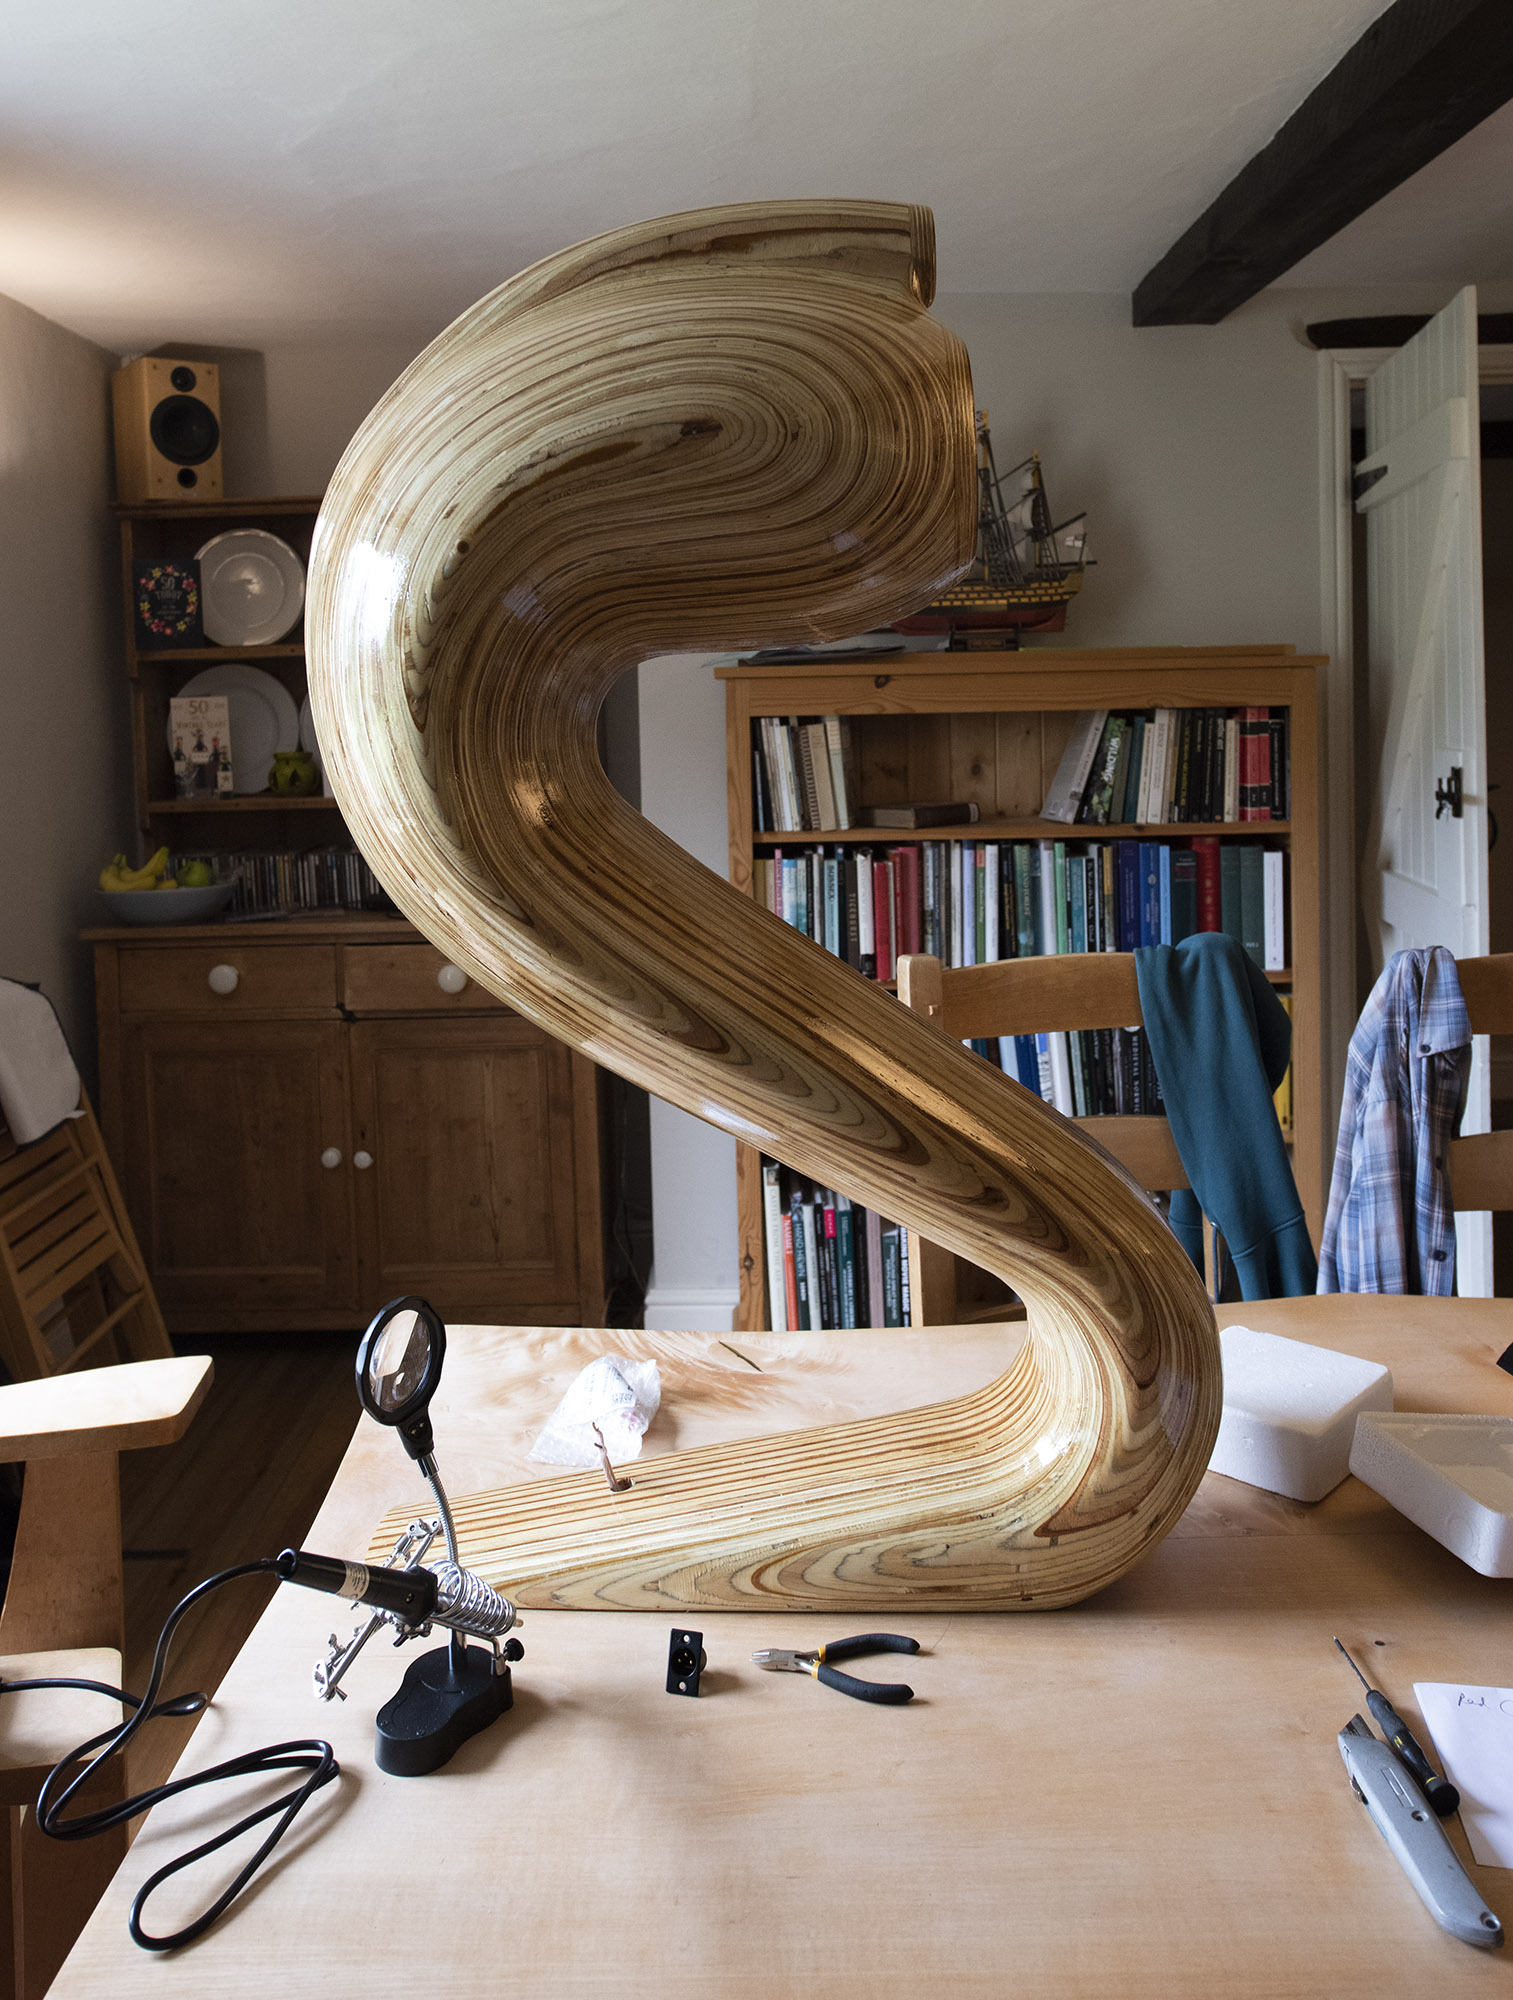
For the new speakers I decided to go for laminated plywood construction. I like the aesthetic of varnished laminated plywood sculptures and it seemed an achievable way of building a complex curvaceous shape: there would be no flat sides this time round. Also, with laminated construction I could create fairly thick and inert walls. The overall form is similar, nonetheless: a rearing snake (or a large number 2 if you want to be more prosaic) and a two-way design with passive crossovers. And the underlying principle was the same. That is, the form was defined entirely by eye and a gut feeling that the exact taper of the tube isn’t critical, so there is no scientific analysis behind it! Work began with drawing in AutoCAD and was followed by the production of a 0.3 scale half-model – shades of boat building. After sanding this so it looked right the laminated sections were each scanned on a flat-bed scanner, and then inserted into the CAD drawing to allow tweaking of the shape of the templates.
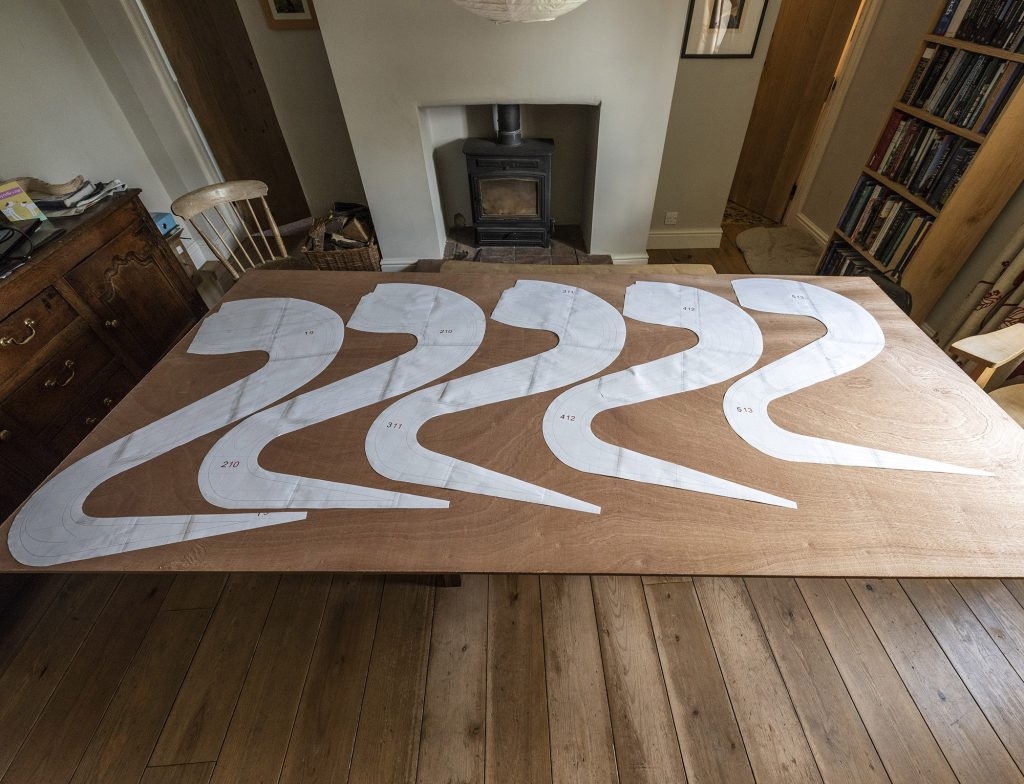
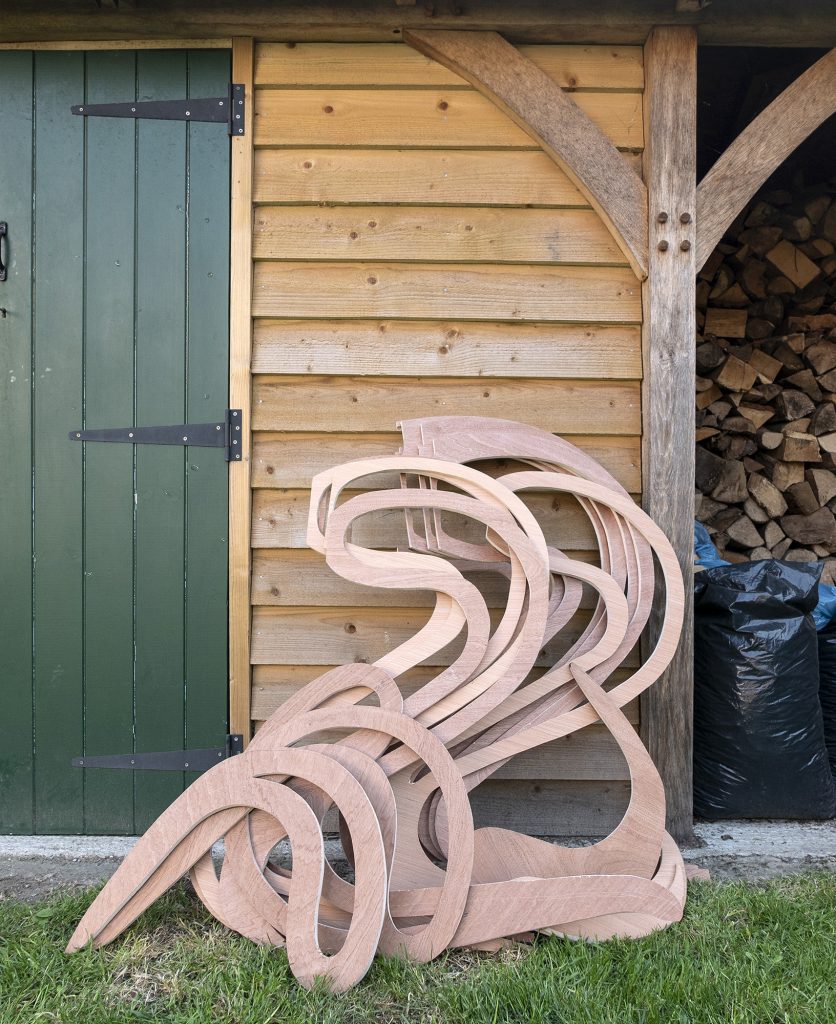
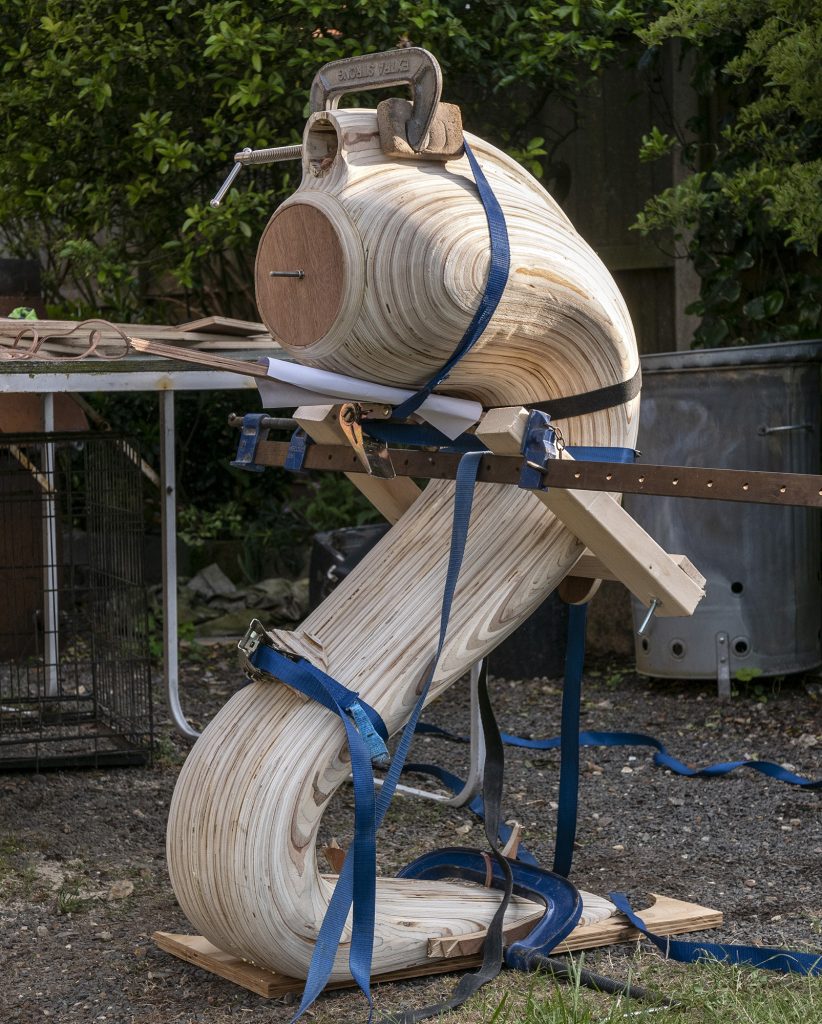
Then construction for real started, with endless hours of cutting plywood just with a circular saw and, mainly, a jigsaw: with 30 pieces of plywood per speaker I was soon cursing the frugal approach that precluded handing it all over to a CNC-equipped workshop (partly due to lockdown-derived impoverishment and partly due to the fact that I wanted to build them myself). Then gluing the plywood sections together to make half-speakers: it sounds easy, but the awkward shape and slippery glue were a difficult combination, resolved by adding a few laminations at a time and holding things in place with piles of books. Fiddlier still was making the front plywood baffles for mounting the drivers: the drivers sit in rubber O-rings with fixings via threaded bolts out of the back of the speakers, so millimetre precision was needed (achieved by spinning my router round a nail). Then back to hard graft: heavy sanding – mainly with a belt sander – to get into something near the final shape. I must have clocked up more hours with a mask on in my own garden than anyone else in lockdown. With initial sanding done it was on to stuffing the lower half of the tapered tube with woollen jumpers (almost solid at the bottom), add cables, and then, without stray bits of wool mucking things up, glue the two halves together: more wool and then – for the top part – speaker wadding was added through the bass driver hole.

With one speaker roughly made, it was time for loading the drivers for testing. With no access to a handy anechoic chamber this time, the garden on a windless day was the next best thing – getting away from any nasty indoor reflections. The neighbours must have thought it odd as I fed sine-wave sweeps through the speakers: aliens in the village? Measurement (bass driver and tweeter separately) was via a Dayton Audio EMM-6 measurement mic, using its individual calibration data and REW software (useful not just for measuring room EQ). The results were looking hopeful, so data was sent to the crossover designer (a renowned loudspeaker designer, so in safe hands), then the crossovers were assembled for me (using hand-wound inductors, made on a slowly spinning lathe), and the tests run again, this time with both drivers in unison: superb results, with impressive waterfall plots revealing negligible resonances and reverberation. During the to-ing and fro-ing of crossover design and build, I ground on with construction of speaker no. 2, and then both speakers were given the finer finishing sanding, crossovers were fixed, and then the speakers were treated to several coats of high-gloss yacht varnish.

And the sound? After teething troubles with one bass driver (an elusive intermittent distortion caused by a loose connector in the driver – as I said, these were spares, and had been knocking around on a shelf for a few years) were sorted, absolutely superb! REW results indoors were exactly as anticipated and aimed for. But, more to the point, listening reveals the sound to be uncoloured, responsive, clear, with a good stereo image, and easily sufficient bass (something I was wondering about) for the size of room. At some points the complexity of utilizing the new drivers seemed daunting (compared to the old B&W ones), but, in the end, it was worth it: not only was there an aesthetic upgrade (the original plan), but an equal acoustic one. For the cost of several sheets of ply, a lot of glue and jigsaw blades, some crossover components, a tin of varnish and countless hours (which were going free during lockdown anyway), I’ve ended up with some unique-looking speakers that to better performance-wise would cost an arm and a leg. And such a satisfying feeling. Given that the mark 1 snakes served over 25 years, these ones will see me out.
Ah, I forgot to mention, though, that there is one drawback: this time round you can’t balance a mug of tea on the top of the speakers…


1 Comment
[…] A couple of months ago I started to think about upgrading my nearfield studio monitors. I’d been using Tannoy Gold 5 speakers for a couple of years and though the coaxial drivers gave a nice stereo image, bass was inevitably lacking and there was something not quite right about the higher frequencies either. Improving my microphones was also exposing the limits of the Tannoys too. All too often I was shifting to open-back headphones for editing and mixing, which says a lot. You get what you pay for, obviously. Buying new monitors is a bit of a gamble unless you happen to have the luxury of working day in day out with a variety of pairs, in treated control rooms/studios that you know well: even if you can find a retailer that stocks several models, the listening conditions are invariably poor and/or are a poor match to your studio. I gave some thought to some of the usual suspects in the £1000-£1500 price range, but teardown photos gave me little confidence of cabinet construction in relation to internal resonances and reflections, and a circuit board on the back of the cabinet just feels wrong to me, even putting aside the long-term issue of having all your eggs in one basket (amplifier and speaker). I’ve spent too long being aware of decent speaker design – which goes back to my upbringing in Steyning, where B&W had their research headquarters – to want to spend significant money on something that was a step up from the modern Tannoys, but still, ultimately, unsatisfactory, and to be followed by another step up in a couple of years. And I am a great fan of exponential absorbers, as per my DIY hifi speakers, built a few years ago – see the post here. […]