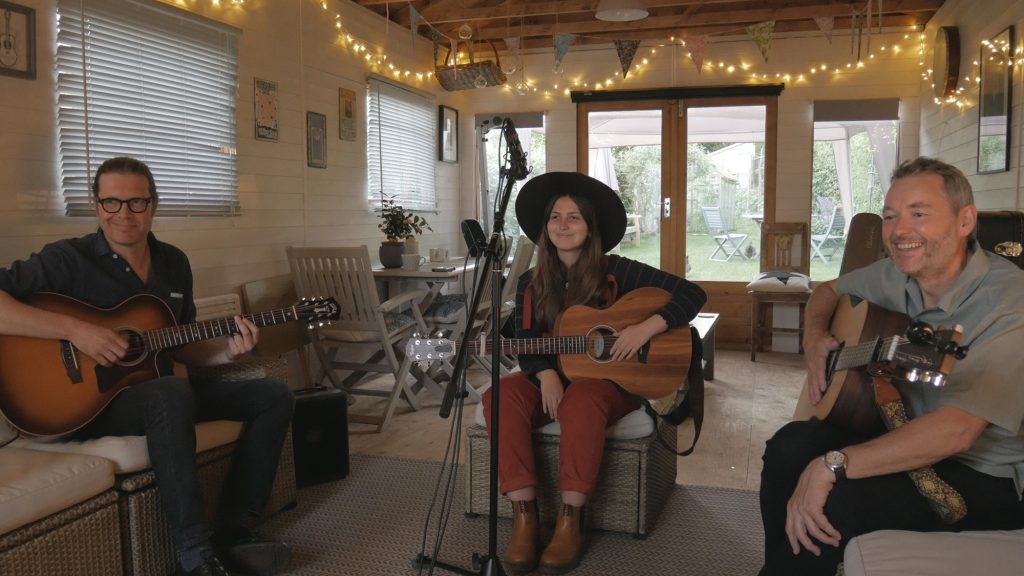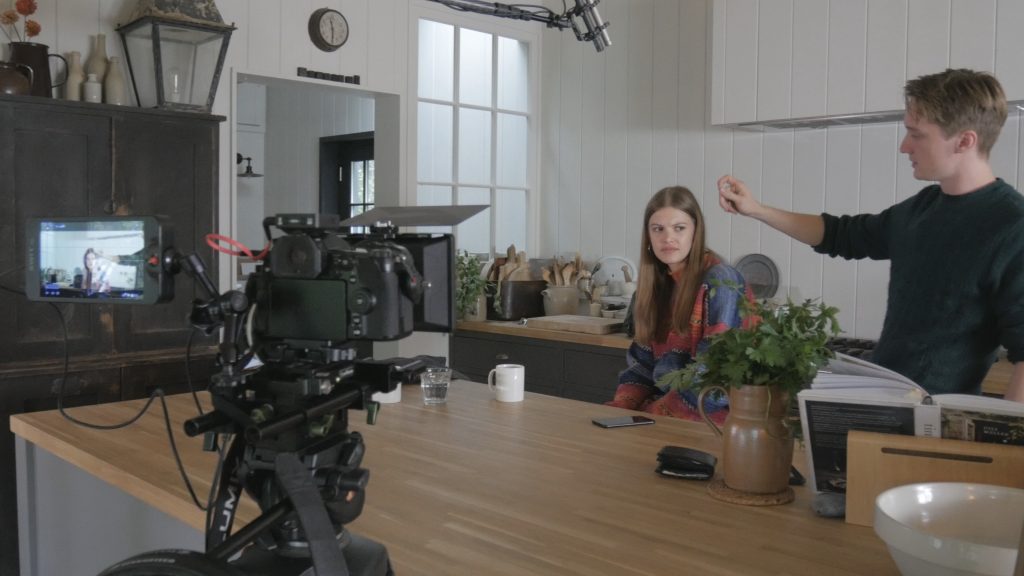
Yesterday, I began filming a drama production: this was the first for a long time. In this case a short three-minute film (an entry into this year’s My Røde Reel competition). It was good to work with two young actors (Daisy den Engelse and Christopher Sainton-Clark) rather than unfairly press-ganging inexperienced family members and mates into roles: but there was no let off for the mates as some were just coerced into providing a location and crewing instead (thank you Rob, Neil and Anji!).
We managed to nail the opening scene in a morning, with all the action – which sets up the slightly M. R. Jamesian premise – set in a kitchen (a rather beautiful one at that). I used a single camera (the Lumix G9 with a Meike 16mm cinema lens and Swit monitor) with follow-focus, on a half-bowl tripod running on a DIY dolly track (40mm PVC pipes): this allowed much better control of movement and rack-focusing and, indeed, permitted a heavier rig than would have been possible with a gimbal.
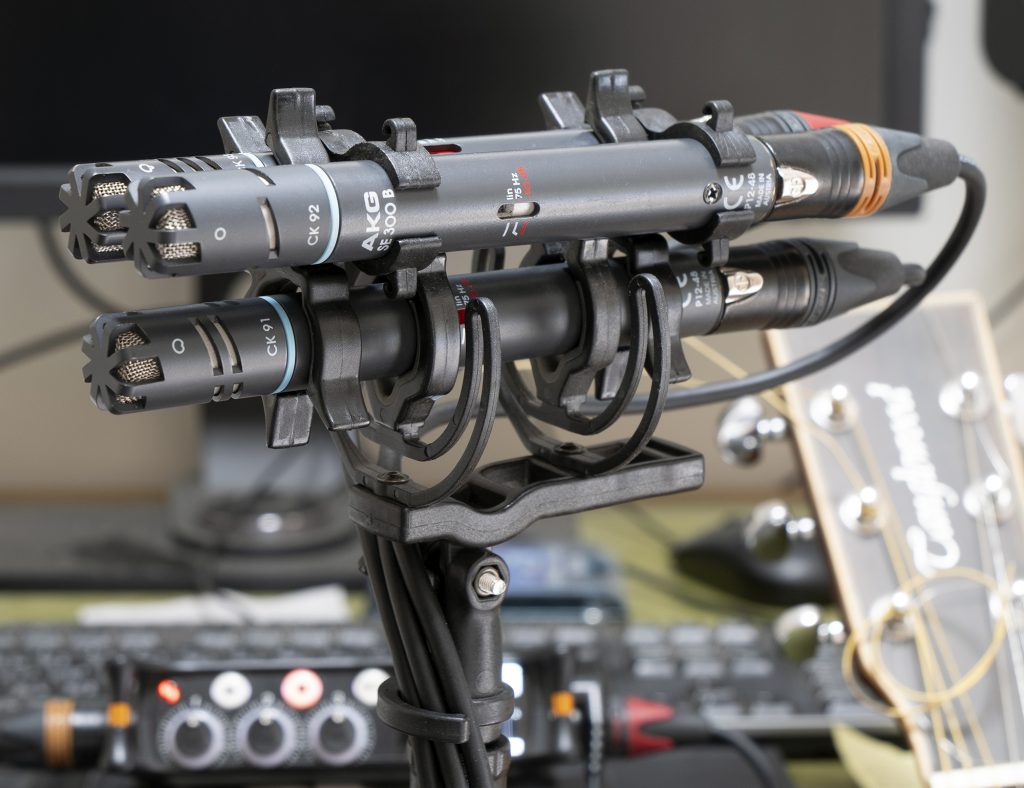
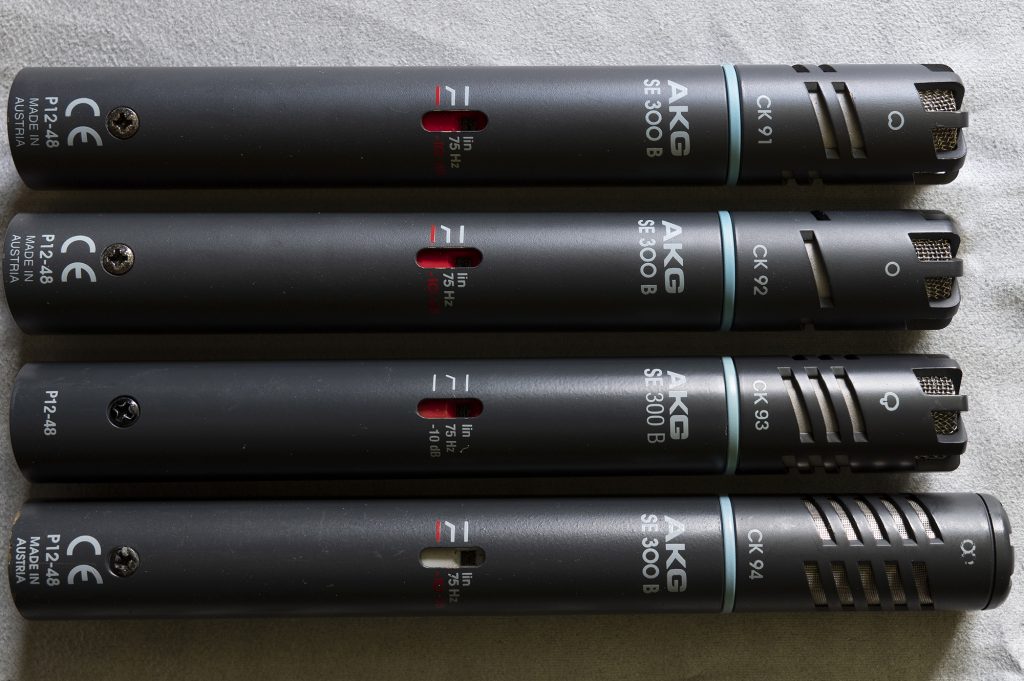
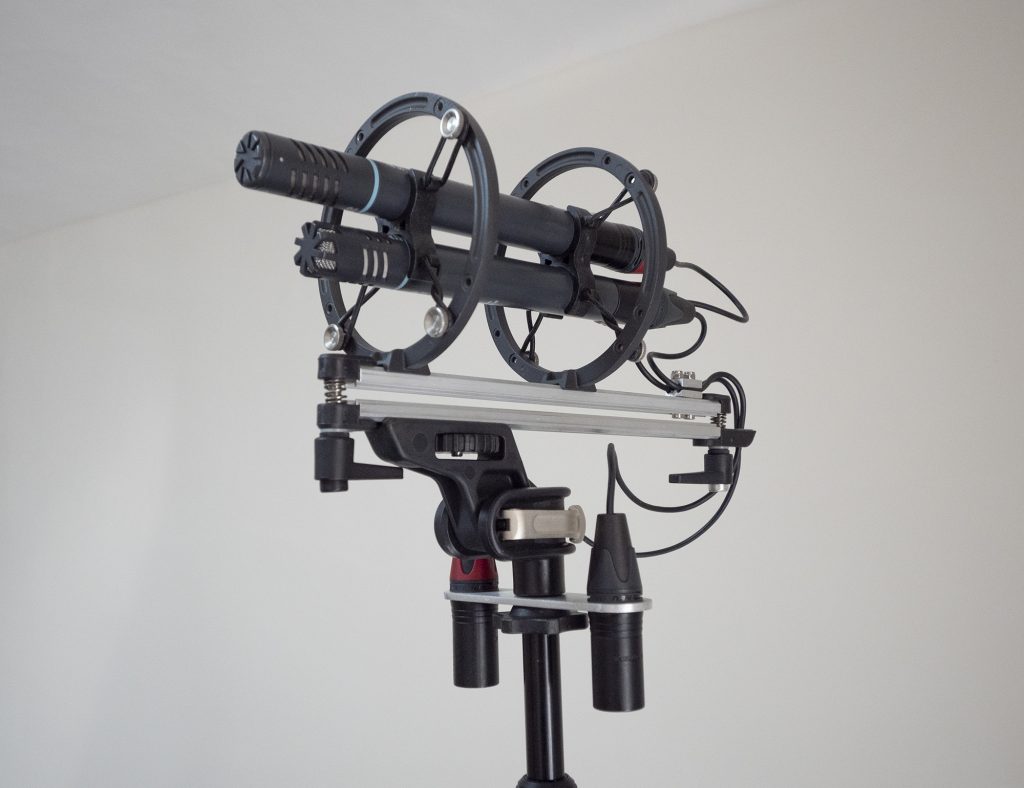
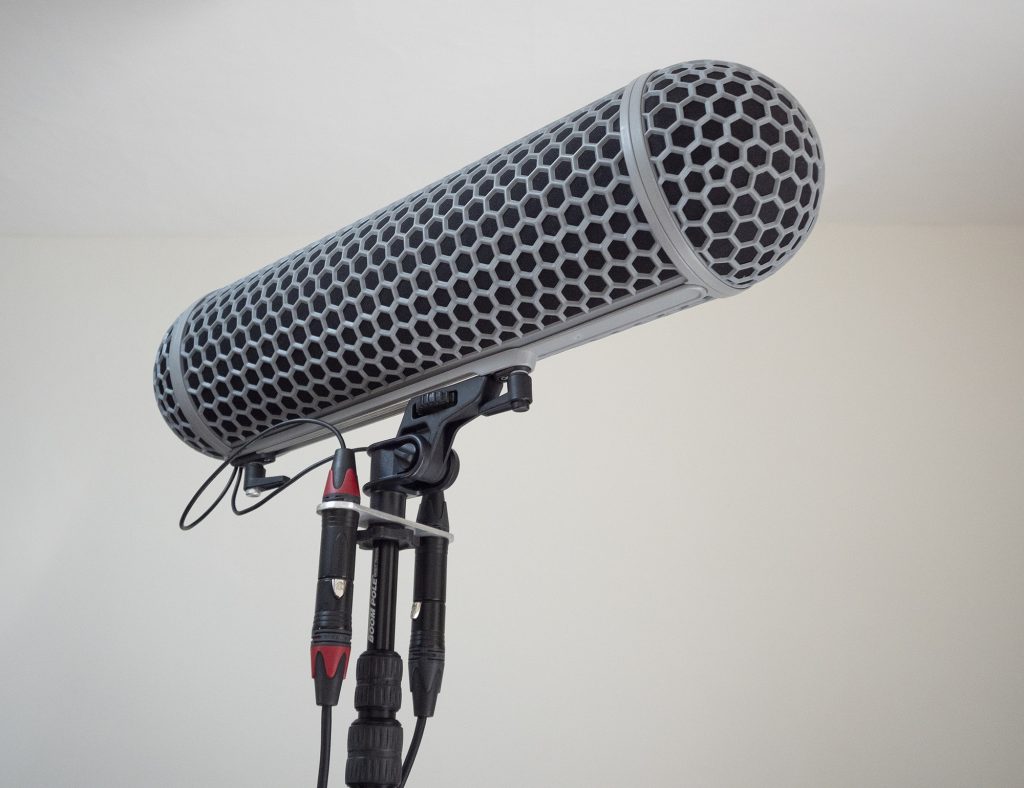
Sound was a mix of boomed mics and lavs. The idea of the Rode competition is to use Rode equipment wherever possible – and, as you can see from this blog, I have a good number of Rode mics anyway – so I tried booming with both a Rode NT55 cardioid and, since Rode don’t make a hypercardioid SDC capsule (wasn’t one originally promised?), an AKG CK93. With a fairly live room and bit more of a distance from mic to talent than ideal (due to framing), the latter was preferable.: this was hardly a surprise, with hypercardioids being the norm for indoor booming. The boom mics were routed to a Sound Devices Mixpre-3. The boom mics were for a seated character, so were set up statically on a light stand using a Boom Buddy. If I’d had sufficient crew, a boom operator might well have been more useful as it would have allowed more variation in mic height, as the camera closed in on the talent, although that would have required some experience. I added a Rode lav mic plugged into a Rode Wireless GO ii as an (unused) back-up for the seated (female) character. The male character spends the scene rushing about, so he was also given a lav mic, this time simply using the onboard mic of a Rode Wireless GO ii taped under his jumper. The two lav mic signals went to the RX unit plugged into the camera. I set the RX unit at -18dB and the Lumix G9 preamps at their lowest level. I also engaged the pad on the inputs of the TX units (-4dB), but the volumes were such that the additional headroom wasn’t really needed. Although there were no signal dropouts in the wifi transmission of the Rode Wireless GO ii , I used the onboard recording of the TX unit for the male character to ensure the (marginally) better sound.
The initial rough-cut of the scripted scene (using Sony Vegas as my NLE) was two and half minutes long, so some heavy pruning was needed – including some cutting of lines – to cut it down to the planned one-minute duration: a lesson in translating screenplay writing to film timings for me.
Next up, shooting goes outdoors, but that won’t happen for a couple of weeks (weather permitting). In the meantime, there is plenty to be done in the way of scouting the locations and, especially, gathering sound effects: two thirds of the film has audio from the past rather than the present. I’ll add another post in due course: the My Røde Reel competition deadline is 20th October.